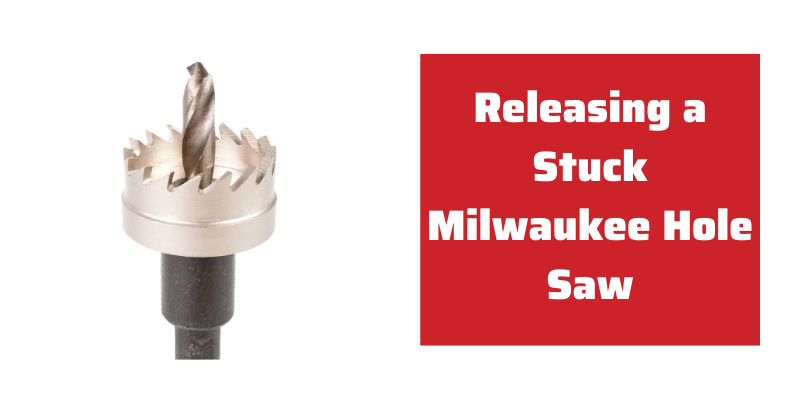
For those of you only getting into the handy man business or are just starting out on DIY, a quick release hole saw becomes a life saver. The purpose of the arbor is to connect a hole saw to a drill chuck without letting the grip of the pilot bit go. These lifesavers are usually made of hardened metal; usually steel, and mixed with other alloys to improve the arbor’s lifespan- which would preferably be multiple hole saws. Arbors come in a wide variety of sizes as smaller ones have diameters between ½ to 1 inch, while larger ones may be as large as 8 inches in diameter.
No matter the size and construction of your arbor- the quality of work and the effectiveness of hole saws are known for gradually deteriorating as the hole saw loses quality or decays. Thus, Milwaukee quick release hole saw arbors come in to play as this reduces the hassle of arbor detachment, speeding up your work by at least 10-20 minutes each time. In the following segment, we will discuss this procedure.
Table of Contents
ToggleReleasing the Hole Saw From the Arbor
The issue with pindrives is that they mount the hole saw on top of the arbor in such a way that the hole saw itself is a bit wobbly due to the imperfect mount. However, this ensures that there is minimal jamming.
The hole saw itself is pretty easy to attach on top of the arbor. The best way to describe this is by saying that the arbor has a radial sprag clutch on it, just like on chucks of cordless drills. The hole saw is supposed to sit plush against the plate or tight against the thread. This ensures that there is no wobble or movement of the hole saw when the arbor is moved around. The collar on the arbor can be turned a bit so that the chuck is loosened and voila- the hole saw will immediately be removed. The plate itself does not move- rather the position of the plate is changed so that the hole saw is moved upward along the threads.
Removing a Stuck Hole Saw
Step 1: Tapping
The first thing to do when the bit itself is stuck is to take the bit and lightly tap it with a hammer. The purpose of this process is to initiate some stress inside the bit which ensures easier ejection. The taps on the hole saw need to be along the bottom perimeter of the hole saw as this operation pushes the bit upwards away from the position it is stuck in. Do not hit the hole saw too hard as this will likely damage both the arbor and the drill.
Step 2: Pulling
To complete this step, you need to put a long-tipped screwdriver through the cutouts of the hole saw. It is important to secure the shaft of the arbor inside a vise before putting the screwdriver through. You can then crank on the shaft of the screwdriver to make the hole saw come loose.
Step 3: Clamping (For hole saws without cutouts)
For stubborn hole saws or ones without cutouts, a vise and an impact wrench may be used. The end of the hole saw needs to be secured into a vise carefully. Then an impact wrench may be used to pry the hole saw loose.
Read: How to Use a Hole Saw Without a Pilot Bit: A Simple Guide
This video might help
Conclusion
It is normal to get your hole saw stuck in different situations and there is no easy way to get around this. A simple solution would be to get a quick release hole saw, but that would put you back a few bucks more.
