For simple projects around the house, PVC pipe is an affordable and easy-to-use solution that provides versatility and durability.
But whether you’re building fences or creating drainage systems, you’ll often need to cut PVC pipe to the exact size you need to ensure your project goes smoothly and comes out looking great.
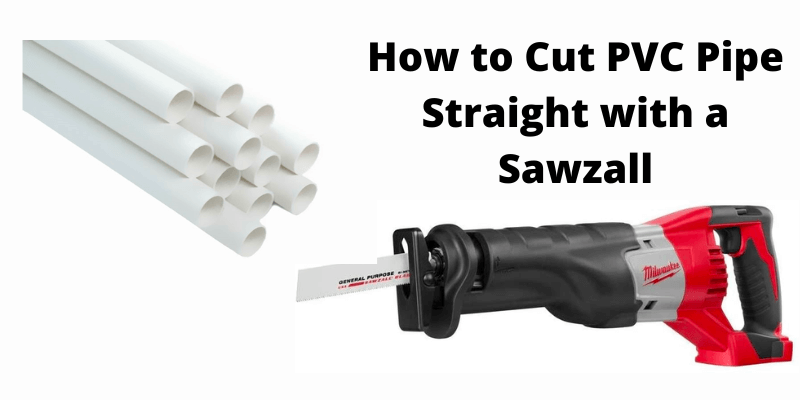
Cutting PVC pipe with a Sawzall requires some skill, but once you learn how, you’ll be able to make straight cuts in no time at all.
Read on to find out how to cut PVC pipe straight with a Sawzall.
Table of Contents
ToggleStep 1: Prep Your Work Area
Regardless of whether you’re using a saw or other cutting tool, you want to ensure that your work area is clear of clutter. The less stuff there is in your way, the better you’ll be able to focus on getting straight cuts.
Make sure your workbench is level and stable (this will make measuring simple), and that it has plenty of light. Don’t forget about ventilation. Any time you’re sawing, grinding or drilling on plastic pipe, make sure adequate airflow is present so fumes aren’t an issue.
Finally, take note of any power lines-even if they don’t appear to be live at first glance.
Step 2: Set Up Your Sawzall
Before you do anything else, make sure that your Sawzall is properly set up. Start by removing any existing blade and then select a fresh one for cutting plastic pipe. Make sure it’s sharp. Slide it into place and attach it firmly so that you don’t have to worry about slippage or safety during use.
You may also want to consider wearing protective gloves as well as eye protection during use; these tools can get dangerous fast if they aren’t handled carefully.
And before you begin cutting, grab your hose clamp and attach it securely to your PVC pipe using either pliers or a crescent wrench depending on which tool you have available at hand; make sure not to tighten too much because too much pressure could cause you to cut right through instead of simply shearing off one end.
Step 3: Carefully Measure Before Cutting
Measure your pipe first, using a tape measure or ruler. Measure from end-to-end and both diagonals for accuracy. Then mark where you’ll cut, using a marker and an X or saw here notation.
You can even use spray paint as long as it’s oil-based. It’s also useful to make a small indentation on one side of your line; that way when you begin cutting, you know exactly where your blade is resting on your pipe.
Step 4: Start Cutting.
Before you start cutting, you should know that it’s important to use safety equipment when operating a Sawzall. Do not wear loose clothing, as there is a high risk of accidentally catching something and injuring yourself. Be sure you have eye protection on as well.
One thing you should also keep in mind is how loud operating power tools can be; being protected from hearing loss by wearing proper earplugs or headphones will help ensure your safety. Also, before you begin cutting make sure to read through all of these instructions carefully so that you don’t miss anything.
It’s also helpful to practice on a scrap piece first if possible so that you can see what kind of cut your Sawzall makes before working with expensive materials. Once everything is set up and ready to go, begin by setting your blade depth at 1/4 inch (0.6 cm).
This may vary depending on what type of material you are using for your cuts-for example, if using plastic pipe instead of metal pipe-but for most people, 1/4 inch (0.6 cm) will work fine for most applications. Make sure that the blade guard is down over the top of your blade before starting up again.
Step 5: Test Out the Fit and Finish.
With everything cut and painted, all that’s left is getting it assembled. With PVC pipe, you can press-fit pieces together, making assembly incredibly simple. To make sure your pipes fit snugly together and are placed squarely, use sandpaper to sand down any rough or uneven edges (particularly at joints) until they fit perfectly into each other.
The tight fit will give it more stability, while also making sure that none of your cuts were inaccurate. Use an extra piece of PVC pipe as a test joint if you’re not sure how things should look; we started by using one for reference and then built off of that design throughout our project. Also note: There’s no real substitute for experience here.
You can get more news about Sawzall or reciprocating saw here.
How do you cut a large diameter PVC pipe?
Cutting large diameter PVC pipes can be tricky without proper equipment. However, it is possible to get great results using common tools such as a circular saw and a miter saw. With patience and steady hands, you can use these tools effectively for cutting large diameter PVC pipes.
? Tip 1: When cutting large diameter PVC pipe using a circular saw, ensure that it is sharpened properly. A dull blade will create ragged cuts in your material, whereas a sharp blade will leave smooth edges after cutting through your pipe material.
Ensure that your blade is clean and free of debris before making any cuts on your project. You may also consider purchasing a new blade if you notice that yours is beginning to show signs of wear or damage.
?Tip 2: Ensure that you are holding onto your workpiece securely while cutting with a circular saw. If not, there’s a risk of damaging your workpiece due to vibrations or movement while making cuts on PVC pipe. Be sure to hold onto both ends of the cut line while making each cut so as not to move along with the vibration of the tool itself.
?Tip 3: Use clamps when working with large diameter pipes. This helps to prevent your material from moving around during a cut. This is especially important when cutting long pieces of PVC pipe.
How to cut 3-inch PVC pipe with Sawzall?
Pipes of many sizes and materials are cut in similar ways. Essentially, there are two kinds of cuts: plunging (as when you make an incision into the skin) and slicing (as when you slice an apple).
You’ll want to use different speeds for each. Plunging requires slow, even pressure whereas slicing needs fast acceleration and deceleration.
Your cutting technique also depends on whether or not you’re cutting through something hollow like plastic or wood, or solid like steel piping. Generally speaking, plunging is used when sawing into solid material while slicing is used to cut through hollow material.
Always start by making sure your blade is sharp. Dull blades will require more pressure which can lead to slipping and injuries. Before you begin cutting, place some tape around your blade so that it’s easier to clean up any debris from your cut once it’s complete.
This will help keep things clean and prevent injury from flying debris during your cut. When making a plunge cut, start by setting your depth gauge at zero before turning on your Sawzall.
Conclusion
After you cut your pipe, use some sandpaper to smooth out any rough spots and remove marks left by sawing. For those of you who’ve never used a Sawzall, they can be difficult to control-so your cuts must be straight.
If you plan on making something that requires pipes that are identical in length and shape, measure twice before cutting once. To avoid ruining lots of materials and keeping waste as low as possible, take care when using a Sawzall.
It may save time in certain circumstances but it won’t make for efficient or economical project management. Use your safety equipment so that you don’t hurt yourself or damage good materials.
